Post-upgrade PC: Stability Checklist and How to Test
2/2/2026 · PC Builds · 7 min
TL;DR
- After hardware changes run a set of quick checks to confirm stability and performance.
- Prioritize monitoring temps, running stress tests for CPU and GPU, testing memory, and verifying storage health.
- Update drivers and firmware, check power delivery, and do real world gaming or workload tests before daily use.
Why test after upgrades
- Hardware changes can introduce instability from bad seating, incompatible firmware, driver conflicts, or insufficient power.
- Early testing helps catch issues before data loss or component damage.
Quick pre-test checklist
- Reconnect all power and data cables and ensure no loose connectors.
- Enter BIOS to confirm RAM frequency, CPU clocks, and that all storage devices are detected.
- Update BIOS or firmware if the new component requires it, but only with a stable power source.
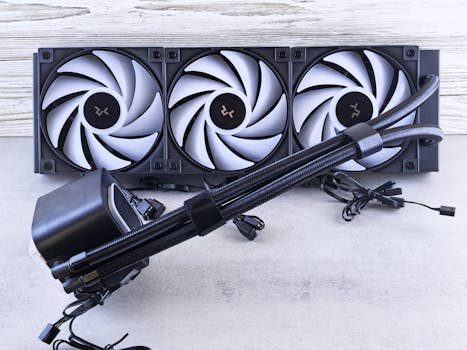
Temperature and cooling checks
- Boot to desktop and monitor idle temperatures for 10 minutes using a tool like HWInfo, HWiNFO64, or Core Temp.
- Run a short CPU load like a 5 minute single thread stress to confirm no thermal throttling or sudden jumps.
- Check GPU temperatures with a short run of a game or a looped benchmark like Unigine Superposition.
- If temps are high, recheck cooler mounting, thermal paste, fan curves, and case airflow.
CPU stress testing
- For long duration stability test use a balanced tool like Prime95 small FFTs for 30 to 60 minutes to stress thermals and power delivery.
- If you prefer a quicker check use Cinebench R23 multi core looped for several runs while watching temps and clocks.
- Watch for crashes, blue screens, or severe drops in clock speed that indicate instability or overheating.
GPU stress testing
- Use a GPU stress test such as FurMark for a burn test, but avoid extremely long runs unless you know the card is tested because FurMark can be harsh.
- Prefer real world stress like looped benchmarks or extended gaming sessions that mirror your normal usage.
- Check for artifacting, driver resets, or system freezes which point to GPU or VRM issues.
Memory testing
- Run MemTest86 overnight for thorough coverage if you suspect memory errors.
- For quick checks use Windows Memory Diagnostic or the built in MemTest in many motherboards.
- If using XMP or manual overclocking, disable it first to confirm baseline stability, then re-enable and retest.
Storage and data integrity
- Run SMART checks with CrystalDiskInfo for SSD health and look for reallocated sectors or high wear indicators.
- For NVMe drives ensure firmware is up to date via the vendor utility.
- Perform a file copy stress test to ensure sustained write performance without errors.
Power and PSU considerations
- Confirm your PSU has enough wattage and required connectors for new components.
- Watch for voltage instability in monitoring tools; large dips under load may indicate an underpowered or failing PSU.
- If you suspect the PSU, try a different unit or a power supply tester.
Drivers and software
- Install the latest stable drivers from vendors for GPU, chipset, network, and storage controllers.
- Avoid beta drivers unless you need them; they can cause instability.
- Update the OS to the latest patches and check device manager for warnings.
Peripherals and I O
- Test USB ports, audio output, and network connectivity after the upgrade.
- Watch for disconnected or malfunctioning devices that may be tied to driver issues or shared controllers.
Real world validation
- Run the apps and games you use daily for several hours to confirm no crashes or performance regressions.
- For content creators run a render or export job to confirm sustained performance.
Troubleshooting tips
- If you see crashes, revert recent changes one at a time to isolate the issue.
- Try reseating RAM and GPU, swapping cables, or testing components in another known good system.
- Keep a log of test results and error messages to help with warranty RMA if needed.
Final buying and maintenance checklist
- Confirm BIOS and drivers are up to date.
- Run memory and storage diagnostics.
- Perform CPU and GPU stress checks and monitor temps.
- Verify PSU capacity and voltages.
- Do extended real world tests before declaring the system fully stable.
Bottom line
Testing after a hardware upgrade is the difference between a smooth transition and a hidden problem that gets worse over time. Spend an hour or two running targeted checks and you will save time and prevent data loss in the long run.
Found this helpful? Check our curated picks on the home page.